Sure, I can help you with that. Here are the steps on how to set up and configure a Netgear router:
- Connect the router to your modem and power it on.
- Connect your computer to the router using an Ethernet cable.
- Open a web browser and go to the router’s IP address. The default IP address for most Netgear routers is 192.168.1.1.
- Enter the username and password for the router. The default username and password are usually “admin” and “password”.
- Once you are logged in, you will need to configure the router’s settings. This includes setting up the WiFi network, configuring the firewall, and setting up parental controls.
Here are some of the things you need to configure on your Netgear router:
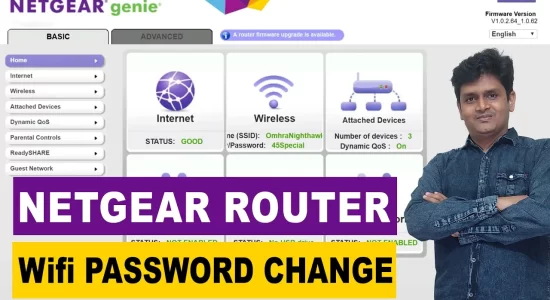
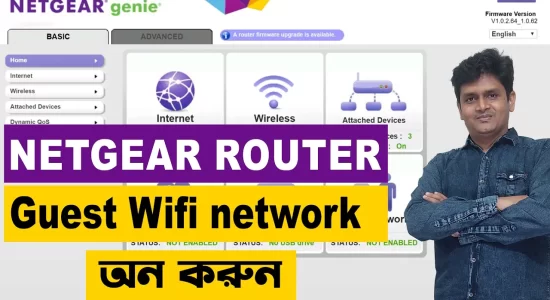
- WiFi network: You need to create a WiFi network name (SSID) and password. You can also choose to encrypt the WiFi network.
- Firewall: The firewall helps to protect your network from unauthorized access. You can choose to enable the firewall and set the firewall rules.
- Parental controls: Parental controls allow you to restrict access to certain websites and applications. You can also set time limits for device usage.
Once you have configured the router’s settings, you can disconnect your computer from the router and start using the WiFi network.
Here are some additional tips for setting up and configuring your Netgear router:
- Keep the default username and password for the router secure.
- Change the WiFi network name and password regularly.
- Keep the router’s firmware up to date.
- Use a strong password for the router’s administrator account.
- Enable the firewall and set the firewall rules to your liking.
- Set up parental controls if you have children.